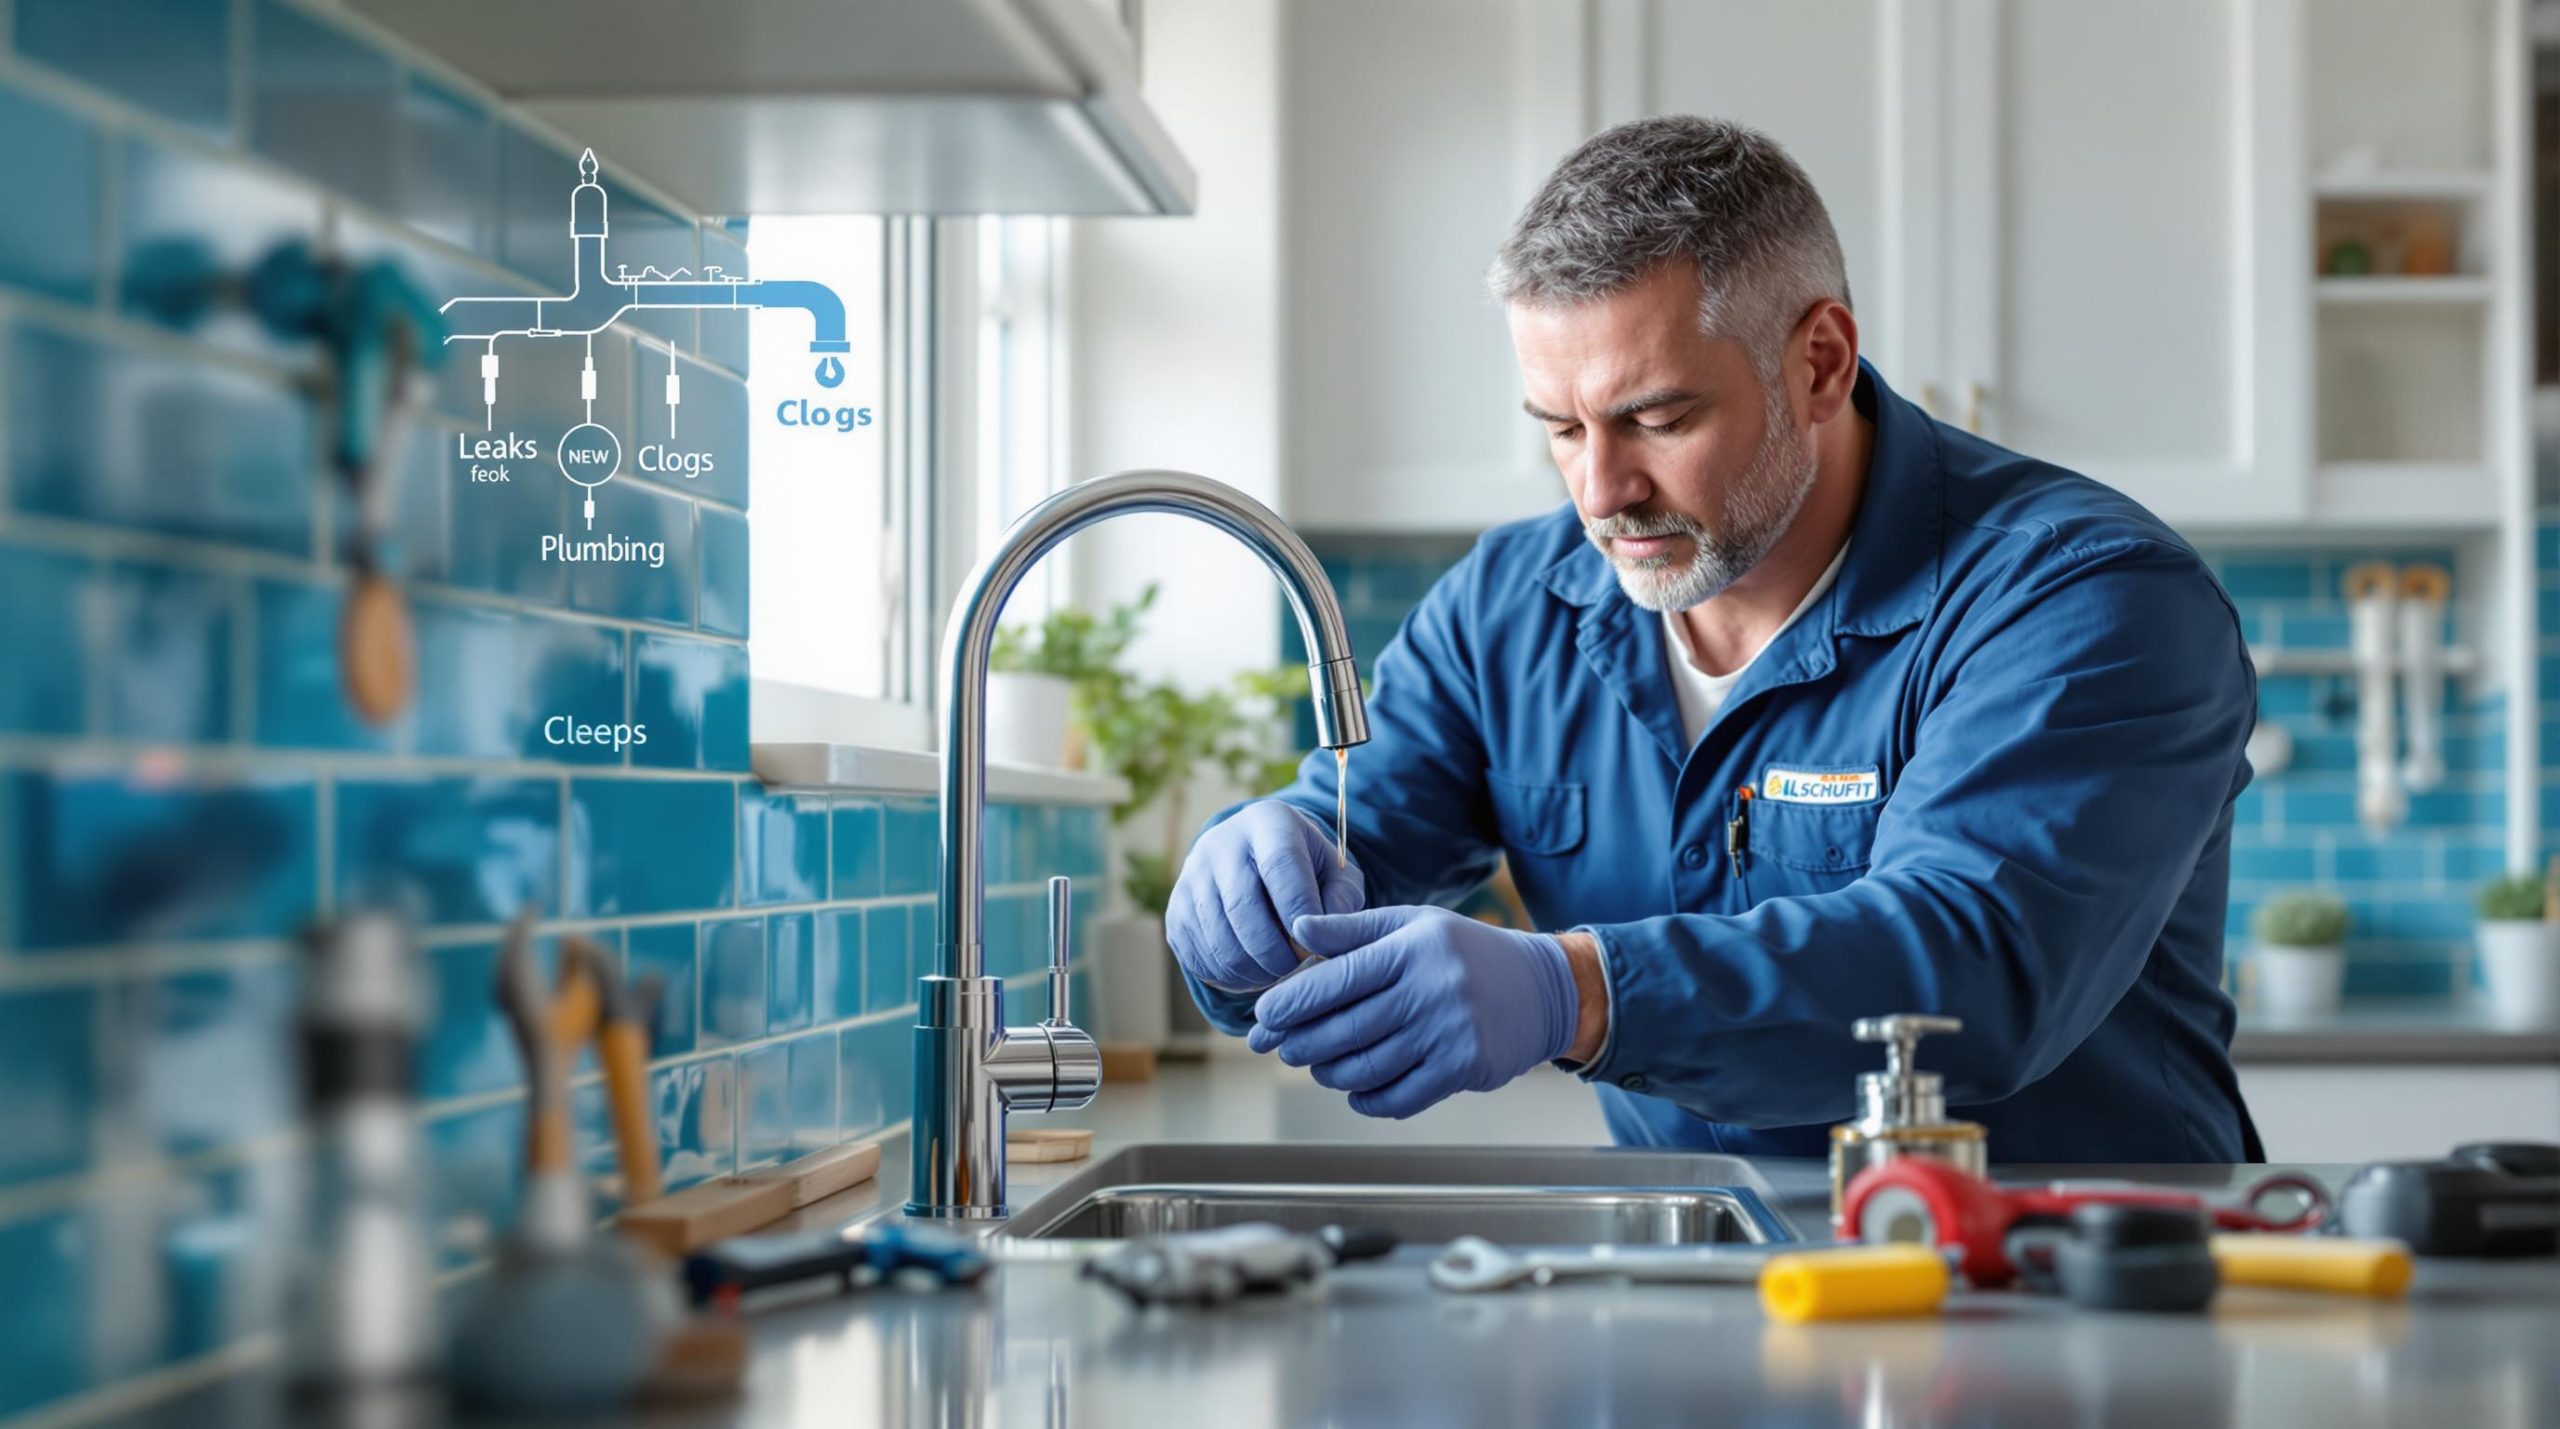
Want to avoid costly plumbing disasters? Regular maintenance is key. Here are three simple practices to keep your system running smoothly while saving money and preventing damage:
- Check for leaks: Inspect visible plumbing and use your water meter to detect hidden leaks. Toilets are a common culprit – test them with food coloring in the tank.
- Prevent clogs: Skip chemical drain cleaners. Use boiling water, vinegar, and baking soda for safe cleaning. Install drain screens and only flush toilet paper.
- Maintain water pressure: Test your home’s water pressure regularly (ideal range: 40–60 psi). Adjust or install a pressure regulator if needed.
Key stats: A dripping faucet can waste over 3,000 gallons annually, and clogged drains can cost $150–$350 to fix. Routine maintenance can cut repair costs by 30% and extend your plumbing system’s life by up to 10 years.
These steps protect your home, save money, and reduce the hassle of emergency repairs. For complex issues, professional help is worth the investment.
Real Plumber Ultimate Plumbing Maintenance Guide
Check for Leaks Throughout Your Home
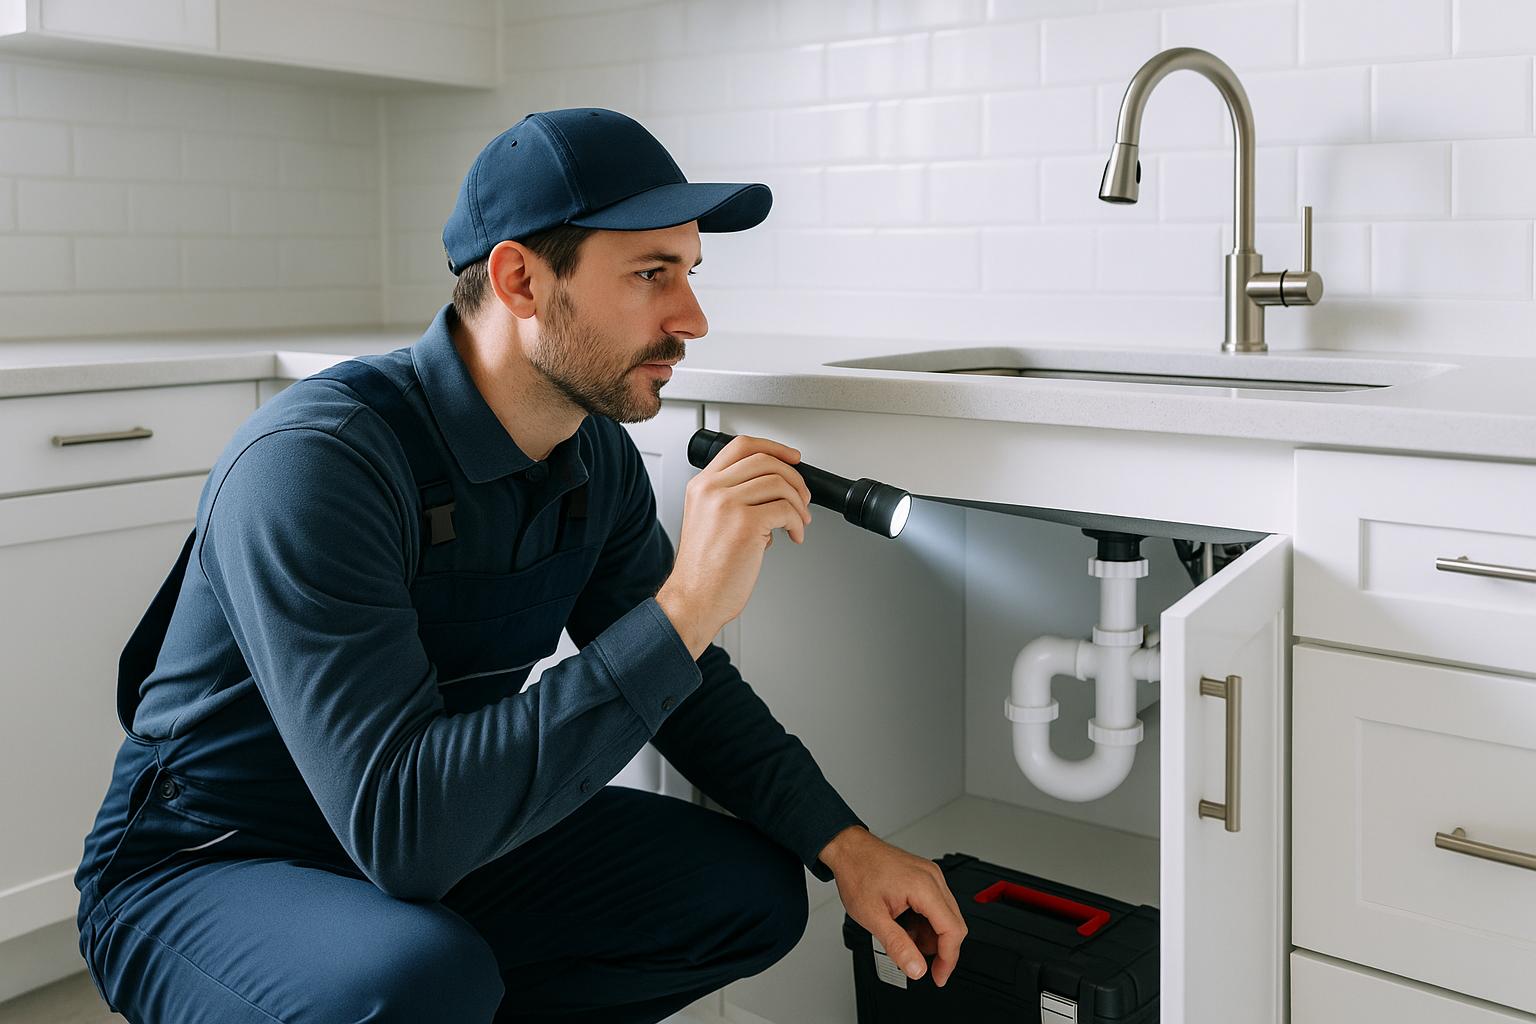
Water leaks can be a silent culprit behind wasted resources and potential property damage. By regularly inspecting for leaks, you can catch problems early and avoid turning small issues into expensive repairs. Make it a habit to include leak detection in your monthly home maintenance checklist. Here’s how to identify both obvious and hidden leaks.
Look for Visible Leaks
Start by examining exposed plumbing and fixtures in your home. Check sinks, toilets, and appliances like dishwashers, washing machines, and water heaters for signs of trouble. Keep an eye out for puddles, rust, mineral buildup, or discoloration around these areas.
Pay special attention to pipe joints and connections, as they are common weak spots. Your water heater also deserves a close look – leaks here can lead to significant damage. Don’t forget outdoor spigots and irrigation systems, especially after freezing weather, which can crack pipes or fittings.
Be mindful of indirect indicators like warped flooring, peeling paint, or musty odors. These could point to hidden water damage. If you notice any of these signs, dig deeper or consider bringing in a professional for a thorough inspection.
Use Your Water Meter to Spot Hidden Leaks
When visible signs are absent, your water meter can help uncover hidden leaks. Locate the meter – usually in a covered box outside your home. Turn off all water sources, then take note of the current reading.
Leave the water off for at least two hours, then check the meter again. If the reading changes, you likely have a hidden leak somewhere in your system.
Check Toilets for Slow Leaks
Toilets are a common source of slow leaks, which can waste large amounts of water without being obvious. To test for a leak, remove the tank lid, add a few drops of food coloring, and wait 15–20 minutes without flushing. If the colored water appears in the bowl, there’s a leak.
Also, inspect the chain and flapper inside the tank. Worn or debris-covered components can cause leaks. Addressing these small issues promptly can save you from costly repairs down the line.
Keep Drains Clear and Prevent Clogs
Once you’ve confirmed there are no leaks, the next step is all about keeping your drains clear. Clogged drains are a frequent household headache, often leading to repair bills ranging from $150 to $350 for minor issues – and significantly more for severe blockages or damaged pipes. The good news? Most clogs can be avoided with regular care. Here’s how to stay ahead of the problem.
Blocked drains don’t just disrupt your plumbing; they can push water back into your home, damaging floors, walls, and cabinetry.
Avoid Chemical Drain Cleaners
Skip chemical drain cleaners – they can corrode pipes, especially in older homes or those with PVC plumbing, and introduce harmful toxins into the water supply. Instead, opt for safer and more eco-friendly alternatives.
- Boiling water: This simple fix works wonders for minor clogs caused by grease or soap scum. Pour boiling water down the drain in two or three stages, allowing time for it to work between pours.
- Vinegar and baking soda: For a deeper clean, pour half a cup of baking soda down the drain, followed by half a cup of white vinegar. Let the mixture sit for 15 minutes to break down organic material, then flush with hot water.
Make it a habit to pour hot water mixed with white vinegar down your drains monthly. This can help dissolve mineral buildup and keep clogs at bay.
Install Drain Screens
A simple, low-cost solution to prevent clogs is installing drain screens. These handy tools, priced between $5 and $20, catch hair, food particles, and other debris before they enter your pipes.
Drain screens are easy to use – just place them over your drain openings, and they’ll start trapping debris immediately. For best results, clean them weekly. Rinse under hot water and use an old toothbrush to scrub away any buildup. This quick task can spare you hundreds of dollars in potential plumbing repairs.
Pay extra attention to bathroom drains, where hair is a common culprit, and kitchen drains, where food particles often cause trouble. Remember, grease and oil should never go down any drain.
Flush Only Toilet Paper and Waste
Your toilet isn’t a trash can. Only flush human waste and toilet paper. Even "flushable" wipes don’t break down easily and can cause serious blockages in household plumbing and municipal sewer systems.
Dispose of non-flushable items and grease properly. For grease, let it cool and solidify in a container, then toss it in the trash. In bathrooms, keeping a small wastebasket nearby can encourage proper disposal of items like wipes and hygiene products.
To keep everyone on the same page, post friendly reminders near sinks and toilets. This is especially helpful for guests who may not be familiar with your plumbing system’s quirks.
sbb-itb-c287090
Maintain Proper Water Pressure
Keeping your water pressure in check is essential for the health of your plumbing system. Too much or too little pressure can damage pipes, fixtures, and appliances, leading to expensive repairs. Addressing pressure issues early can save homeowners anywhere from $500 to $1,000 in repair and water damage costs. Just as routine leak inspections help avoid damage, maintaining the right water pressure ensures your plumbing system lasts longer.
"Maintaining adequate water pressure is not just about convenience; it is crucial for the overall health of your plumbing system and the efficiency of household appliances." – Robinson Plumbing
For most homes, the ideal water pressure ranges between 40 and 60 psi (pounds per square inch). If it climbs above 80 psi, it can put excessive strain on your plumbing, while pressure below 40 psi may result in weak water flow and inefficient appliance performance. Here’s how to test and manage your water pressure effectively.
Test Water Pressure at Home
Checking your water pressure is a straightforward process that should be done a couple of times a year as part of regular maintenance. All you need is a pressure gauge with a hose connector, which typically costs between $10 and $20 at most hardware stores.
To get an accurate reading, start by turning off all water sources in your home. Then, locate an outdoor faucet near your water meter (if you’re on municipal water) or close to the pressure tank (if you use well water). For apartment residents, the cold water faucet for your washing machine works well for this test.
Attach the pressure gauge to the faucet and fully open the water supply. The gauge will display your current pressure. Ideally, it should fall between 40 and 60 psi. If it’s below 40 psi, contact your water supplier. If it’s over 60 psi without a regulator – or over 75 psi with one – you’ll likely need to adjust or install a pressure regulator.
Install or Adjust a Pressure Regulator
If your pressure is outside the recommended range, a pressure regulator can help keep things consistent.
Adjusting an existing regulator is a simple task that you can often handle on your own in under an hour. Find the regulator near your main water line and use a crescent wrench to loosen the lock nut on top by turning it counterclockwise. Adjust the screw: turn it clockwise to increase pressure or counterclockwise to lower it. Make small adjustments, retest the pressure, and tighten the lock nut when done. Afterward, check for leaks to ensure everything is secure.
Installing a new regulator is more complicated, as it involves cutting into your main water line. This task is best left to a plumber if you’re not experienced. Basic regulators cost around $60, while professional installation typically runs about $350. The process requires tools like a pipe cutter, soldering equipment, and specific fittings.
Protect Pipes and Fixtures from Damage
Once your water pressure is properly regulated, you’ll protect your plumbing system from unnecessary stress. Keeping pressure within the recommended range reduces strain on pipes, seals, and joints, extending the lifespan of your fixtures and appliances.
High water pressure can wear out components like gaskets and seals, leading to leaks, burst pipes, and damaged appliances. On the other hand, low pressure forces appliances like dishwashers, washing machines, and water heaters to work harder, which can shorten their lifespan.
Monitoring your water pressure regularly not only keeps your plumbing system in good shape but also ensures smooth water flow. This helps maintain water quality by minimizing turbulence that could stir up sediment.
DIY vs. Professional Plumbing Maintenance
When it comes to keeping your plumbing in good shape, deciding between a DIY approach and hiring a professional can make all the difference in both cost and peace of mind. While tackling minor repairs yourself may seem like the cheaper option, mistakes can lead to expensive consequences. Knowing when to handle a task on your own and when to call in the pros can save you from unnecessary stress and financial strain.
DIY plumbing is great for straightforward tasks like unclogging a single drain, swapping out a toilet flapper, or tightening a loose faucet. These jobs typically require minimal tools and carry a low risk of causing further damage. Considering that professional plumbers charge anywhere from $45 to $200 per hour, plus a $50 to $200 call-out fee, handling these small fixes yourself can save you money.
That said, DIY projects can quickly backfire. If a mistake leads to water damage, you could be looking at an average repair cost of $11,098, which most insurance policies won’t cover if the damage stems from a DIY error. And if your weekend project turns into an emergency, you’ll pay significantly more – emergency plumbing services are 1.5 to 3 times pricier than standard rates.
For more complicated issues, professional plumbing services are the safer bet. Problems like multiple slow-draining fixtures or anything involving the main plumbing system often indicate deeper issues that require expert diagnosis. Gas line repairs, major water supply line work, and extensive renovations should also always be left to licensed professionals.
"Knowing your limits and calling a professional when needed saves time, money, and hassle." – Lloyds Plumbing, Inc.
Professional plumbers bring valuable expertise, specialized tools, and peace of mind. Many offer workmanship guarantees ranging from 30 to 90 days, ensuring the repair holds up. Plus, they’re insured, meaning you’re protected in case something goes wrong during the job.
The complexity of the repair often determines whether DIY or professional help is more cost-effective. For example, hiring a plumber to clean a drain or fix a leaky faucet typically costs $125 to $350, while repairing pipe leaks can range from $500 to $800. If you’re confident in your skills and already have the necessary tools, handling simple repairs yourself can work. But for larger jobs that demand specialized equipment or expertise, professional service is usually worth the investment.
For homeowners dealing with frequent plumbing issues, a home warranty plan might be a smart choice. These plans cost between $460 and $840 annually, with service calls typically priced at $50 to $150. If you live in an older home or aren’t comfortable with DIY repairs, this can be a more budget-friendly alternative to paying full professional rates for every fix.
Here’s a quick breakdown of the key differences between DIY and professional plumbing maintenance:
Comparison Table: DIY vs. Professional Plumbing Maintenance
| Factor | DIY Approach | Professional Service |
|---|---|---|
| Cost | $0 labor + materials and tools | $45-$200/hour + $50-$200 call-out fee + materials |
| Best For | Simple tasks: unclogging drains, replacing flappers, minor adjustments | Complex repairs, gas lines, major leaks, multiple fixture issues |
| Time Required | Varies; often takes longer than expected | Typically completed efficiently within estimated timeframe |
| Risk Level | High risk of costly mistakes; no insurance coverage for DIY errors | Low risk; insured and licensed professionals |
| Warranty | None | 30-90 day workmanship guarantees typical |
| Tools Needed | Must purchase or rent specialized tools | Professional brings all necessary equipment |
| Safety | Potential for injury or property damage | Trained professionals with safety protocols |
| Long-term Value | May require professional fix later if done incorrectly | Quality work that lasts; pipes can last 50-70 years when properly maintained |
Whether you choose to roll up your sleeves or call in the experts, understanding the scope of the task and your own limits is essential to keeping your plumbing – and your wallet – in good shape.
Conclusion
To keep your home’s plumbing in great shape, focus on three key practices: regularly checking for leaks, keeping drains clear, and maintaining proper water pressure. These straightforward habits can help you avoid costly repairs and ensure your plumbing system runs smoothly for years.
Did you know the average U.S. household wastes nearly 10,000 gallons of water annually due to leaks? Even more startling, 10% of homes have leaks that waste 90 gallons or more every single day. Regular inspections can catch these problems early, cutting your water bills by up to 10%. Beyond saving money, fixing leaks and keeping drains clean can protect your home from water damage, mold, and the stress of unexpected repairs. Proper water pressure management also helps extend the life of your pipes and appliances, while routine drain care keeps everything flowing as it should. These small steps go a long way in protecting your home and preparing you to recognize when it’s time to call in the experts.
While many plumbing maintenance tasks are doable for homeowners, there are moments when professional help is essential. For complex or recurring problems, hiring skilled professionals ensures the job is done right and prevents costly mistakes. Ipswich Blocked Drains offers expert plumbing services and routine inspections to keep your system in top condition, giving you peace of mind and a smoothly operating home.
FAQs
What are the best ways to find hidden plumbing leaks in my home?
Detecting hidden plumbing leaks early can help you avoid expensive repairs and wasted water. One simple method is to check your water meter. Take a reading, refrain from using any water for a few hours, and then check it again – if the number has gone up, you might have a leak.
Keep an eye out for telltale signs like mold, mildew, or water stains appearing on walls, ceilings, or floors. Also, listen carefully for unusual sounds, such as dripping or running water, especially when no faucets or appliances are in use.
If you think the leak might be underground, watch for wet patches, sinkholes, or areas of erosion in your yard. For a more accurate diagnosis, you can use tools like a moisture meter or bring in a professional plumber to thoroughly inspect your plumbing system.
What are the dangers of using chemical drain cleaners, and what are safer ways to unclog drains?
Chemical drain cleaners might seem like a quick fix, but they can wreak havoc on your plumbing over time. These harsh chemicals can corrode your pipes, leading to leaks and potentially weakening your entire plumbing system with repeated use. On top of that, they release harmful fumes that can irritate your skin, eyes, and lungs. And let’s not forget the safety risks – accidental ingestion or mishandling can be dangerous.
Instead, consider safer and equally effective alternatives. A plunger or drain snake can physically clear clogs without damaging your pipes. For a natural approach, try pouring a combination of baking soda and vinegar down the drain, followed by hot water. Another great option is enzymatic drain cleaners, which use natural bacteria to break down clogs gently, protecting both your plumbing and the environment.
How can I check if my home’s water pressure is at the right level, and what should I do if it’s too high or too low?
To measure your home’s water pressure, connect a pressure gauge to an outdoor faucet or a fixture close to your main water supply. Make sure all water usage in the house is turned off during the test to get an accurate reading. Residential water pressure generally falls within the range of 45 to 80 psi. If the pressure drops below 40 psi, you might experience weak water flow, which can impact your fixtures and appliances. On the other hand, pressure exceeding 80 psi can put undue stress on your plumbing and potentially cause damage.
If your water pressure is outside the ideal range, installing a pressure regulator can help maintain a consistent and safe level. For more complicated situations or adjustments, it’s best to reach out to a professional plumber to ensure your system operates properly.