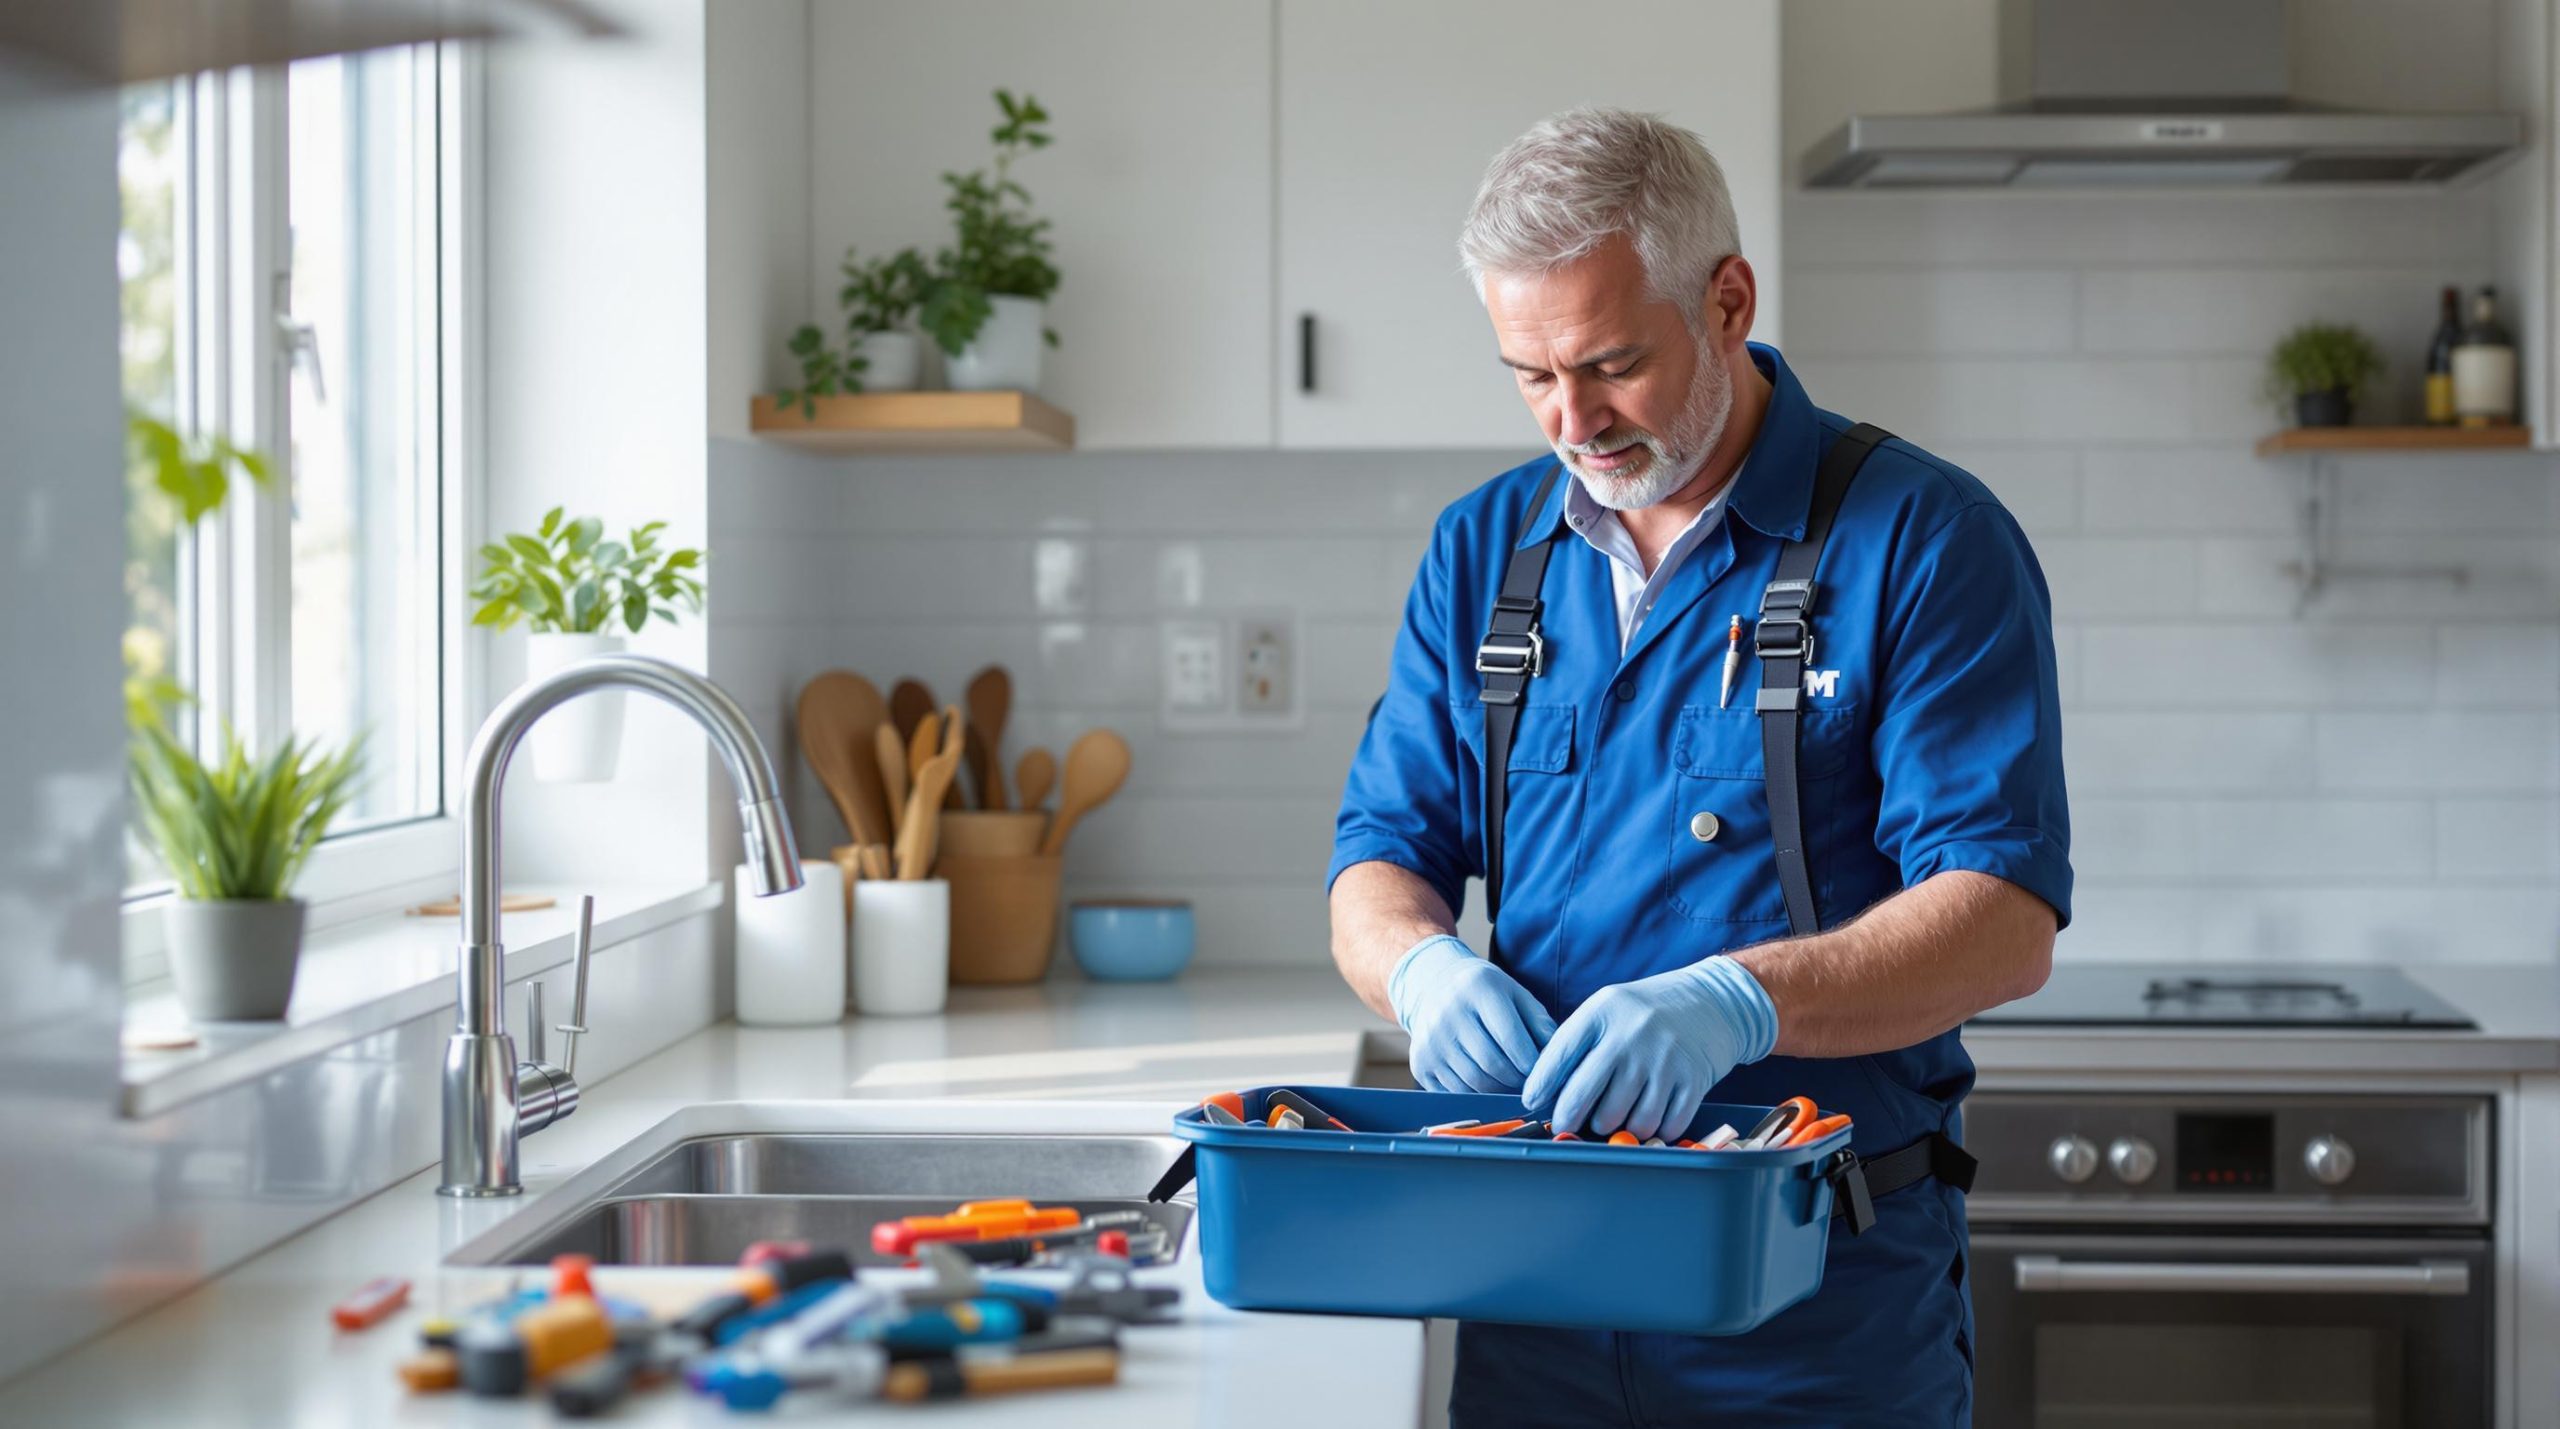
Preparing for a plumbing service appointment can save you time, money, and hassle. Here’s a quick guide to get ready:
- List Your Concerns: Write down all plumbing issues, including symptoms (e.g., leaks, noises, slow drains) and any recent repairs or changes.
- Clear the Workspace: Remove items from under sinks, around toilets, and near water heaters. Make pathways accessible for the plumber.
- Ensure Safety: Keep pets and valuables away from the work area. Locate and clear access to the main water shutoff valve.
- Communicate Clearly: Share detailed problem descriptions, ask about costs, timelines, and warranties, and prepare questions for your plumber.
- Be Available: Stay nearby during the appointment to address any questions or concerns.
When To Use What | Hold, Pause, Separate Appointments …
1. Record Your Plumbing Problems
Keeping a clear record of plumbing issues – including symptoms and past fixes – can help plumbers diagnose and resolve problems much more efficiently.
List All Symptoms
Make a note of every plumbing symptom you notice:
| Symptom Type | What to Note |
|---|---|
| Water Issues | Any changes in pressure, color, or temperature |
| Sounds | Noises like gurgling, banging, or whistling |
| Visual Signs | Leaks, water stains, or mold growth |
| Drain Problems | Slow draining, backups, or strange odors |
| System Behavior | How issues vary throughout the day or during specific tasks |
You can also create a timeline of when these symptoms occur to give your plumber a better understanding of the problem.
Document Recent History
Keep track of your plumbing system’s history by noting the following:
- Past Repairs: Include any fixes, even small DIY efforts.
- Maintenance Work: Record any professional services performed recently.
- System Changes: Note upgrades or modifications to your plumbing setup.
- Related Events: Include incidents like flooding or nearby construction work.
Be as specific as possible when describing the problem. For example, instead of saying "the pipe leaks sometimes", say "the pipe under the kitchen sink leaks every 3 hours, producing about a cup of water."
Having detailed records will make your discussion with the plumber much smoother.
2. Set Up the Work Space
A well-prepared workspace ensures repairs are done safely and efficiently.
Remove Obstacles
Clear out items that could get in the way of repairs. Here’s a quick guide:
| Area | Items to Remove |
|---|---|
| Under Sinks | Cleaning supplies, containers, trash bins |
| Around Toilets | Rugs, decor, storage units |
| Near Water Heaters | Boxes, laundry items, supplies |
| Utility Areas | Tools, materials, seasonal items |
Also, move electronics, documents, and other valuables to avoid water damage.
Create Clear Pathways
Ensure there’s an open, direct route to the work area and plumbing points, including the main water shutoff valve. Keep hallways and stairways free of clutter to allow easy movement of tools and equipment.
Make the Area Safe
"Keep your pets contained in a different room or outside. Even if your plumber is pet friendly, it’s best to keep them out of the way so they don’t distract the technician from completing the job at hand. Plus, you must keep your pets’ safety in mind and keep them away from tools and plumbing parts that may be laying around." – Mike Diamond Services
Secure pets and store valuables away from the work area. If it’s an emergency, locate your main water shutoff valve and ensure it’s easily accessible to minimize potential damage.
Once the workspace is ready, you’ll be set to go over your concerns with the plumber.
sbb-itb-c287090
3. Talk With Your Plumber
Good communication can make plumbing repairs smoother and more efficient. Here’s how to ensure you’re on the same page with your plumber:
Explain the Problem
Providing specific details helps your plumber diagnose the issue faster. Share the following:
| What to Share | Why It Helps |
|---|---|
| When You First Noticed It | Tracks how long the issue has existed |
| What’s Happening | Helps pinpoint the root cause |
| Past Repairs | Avoids repeating previous fixes |
| Recent Changes | Identifies potential triggers |
| How Often It Happens | Shows if it’s a recurring issue |
For instance, if you’ve noticed gurgling noises or slow drainage, mention them. These details can guide your plumber toward the right solution.
Prepare Your Questions
To make the most of your conversation, ask about these key areas:
- Technical Details: Learn about the proposed fixes, the materials needed, and the methods they’ll use. This helps you make informed choices.
- Maintenance Tips: Get advice on keeping your plumbing in good shape to avoid future problems.
- Timeline and Process: Ask how long the repair will take and what steps are involved, so you can plan accordingly.
Review Costs and Services
When discussing costs, make sure everything is clear and transparent. Focus on these points:
| Topic | What to Ask About |
|---|---|
| Costs | Parts, labor, and any extra fees |
| Payment Options | Accepted methods and payment schedules |
| Warranty Details | Coverage period and any conditions |
| Follow-Up Services | Whether additional maintenance might be needed later |
It’s also smart to confirm the plumber’s licensing and insurance upfront. Ask for written estimates and warranty details to avoid surprises. This way, you’ll know exactly what’s included in the service and can plan your budget confidently.
4. Get Ready for Service Day
With your earlier preparations in place, it’s time to focus on the final steps for service day. These include managing your water system and being available to address any questions.
Check Your Water System
Make sure the service area is clear and that the main water shutoff valve is easy to access. This valve is usually located near your water meter or where the main water line enters your home – commonly in a basement or crawl space. Keeping the area around key controls, like the shutoff valve, free of clutter is essential.
Be Available
Stay nearby and accessible during the appointment to quickly respond to any questions. Jot down a short list of concerns or questions you may have ahead of time, and ensure the workspace is free of obstacles to allow the technician to work efficiently.
Conclusion: Making Your Plumbing Service Count
Getting ready ahead of time ensures repairs are done efficiently and last longer. Steps like noting down problems, setting up a safe workspace, and keeping communication open can make a big impact on the results.
"You may not be a plumbing expert, but you are the expert at your home’s functionality and history." – Mike Diamond Services
Before the plumber arrives, double-check that the area is clear and easy to access, especially around key spots like the main water shutoff valve. As professionals put it:
"We pride ourselves on quality plumbing workmanship ensuring the job gets done right the first time!" – Q Plumb and Gas
After the work is done, go over the repairs and any maintenance tips they provide to keep your system running smoothly in the future. By sticking to these simple steps – tracking issues, prepping the workspace, and staying communicative – you’ll get the most out of every plumbing service visit.


